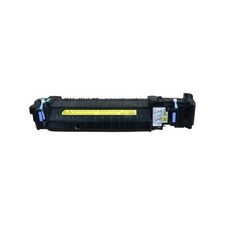
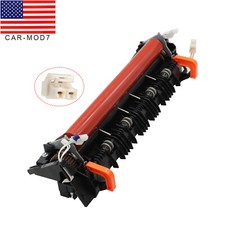
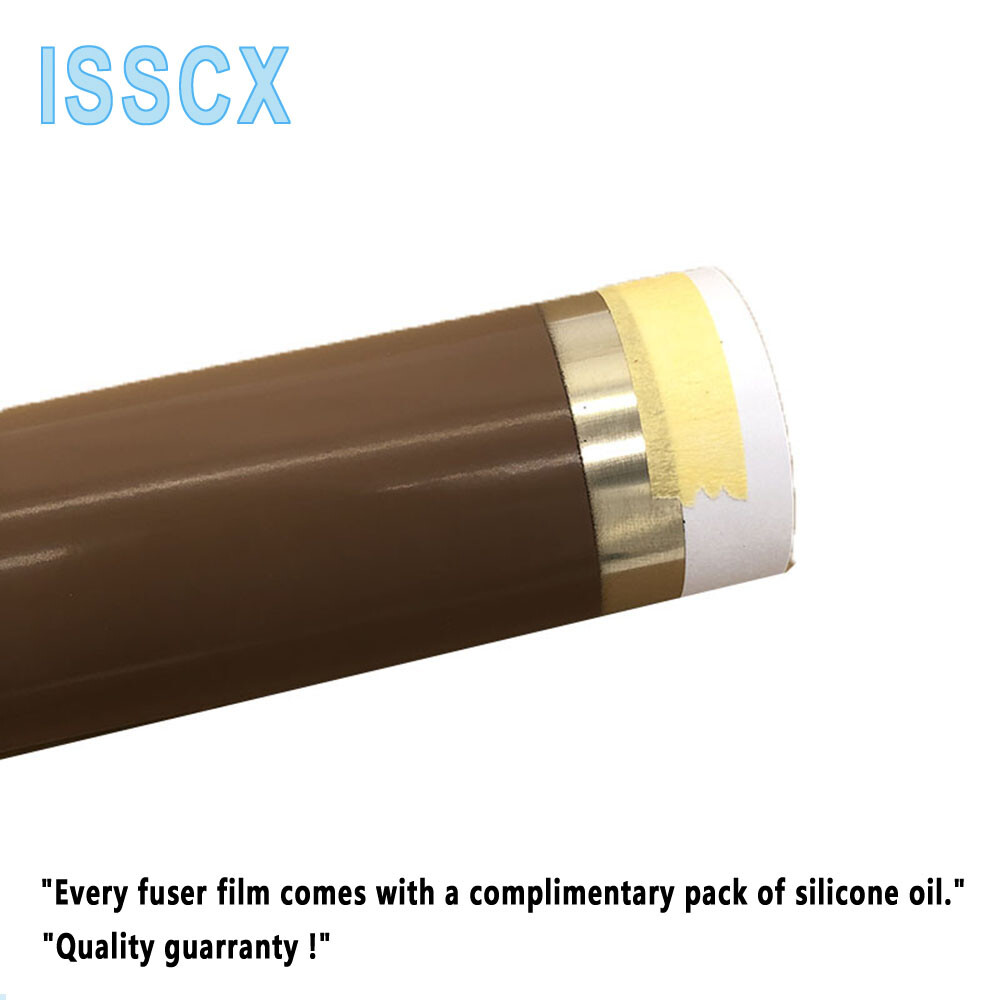
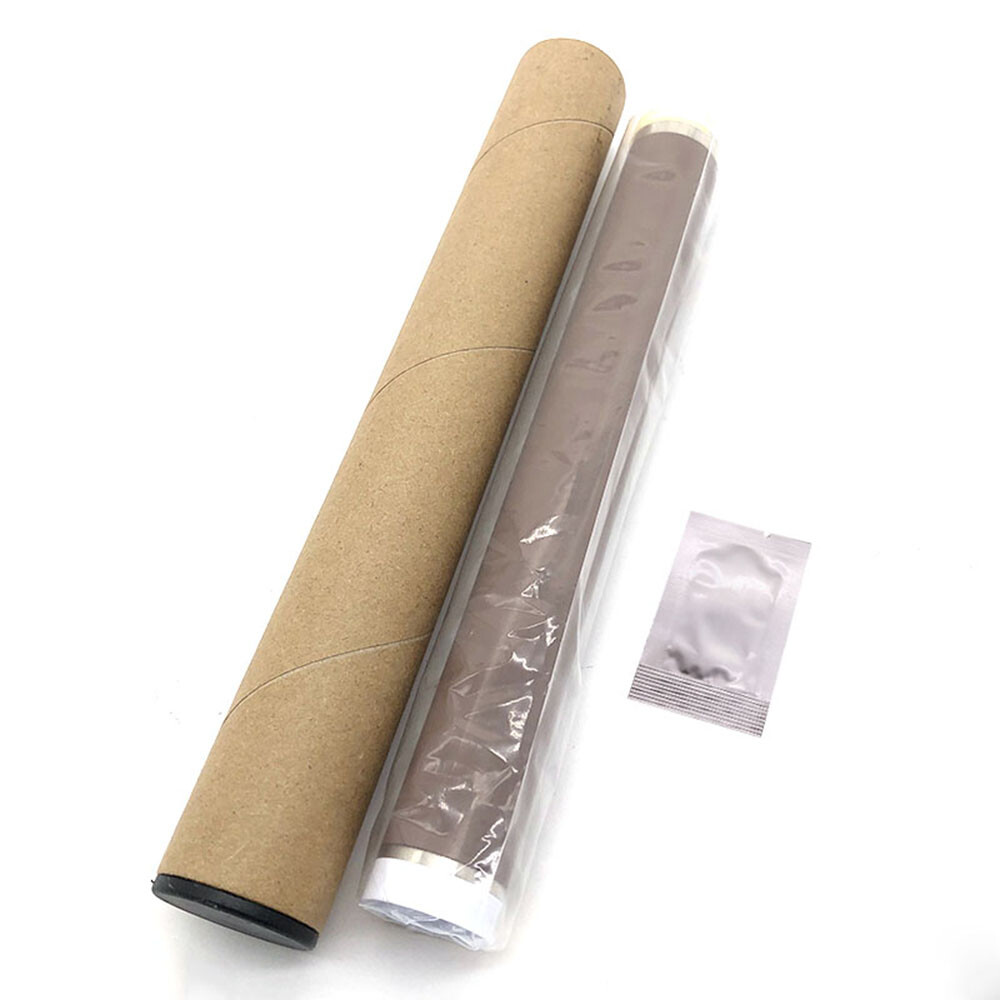
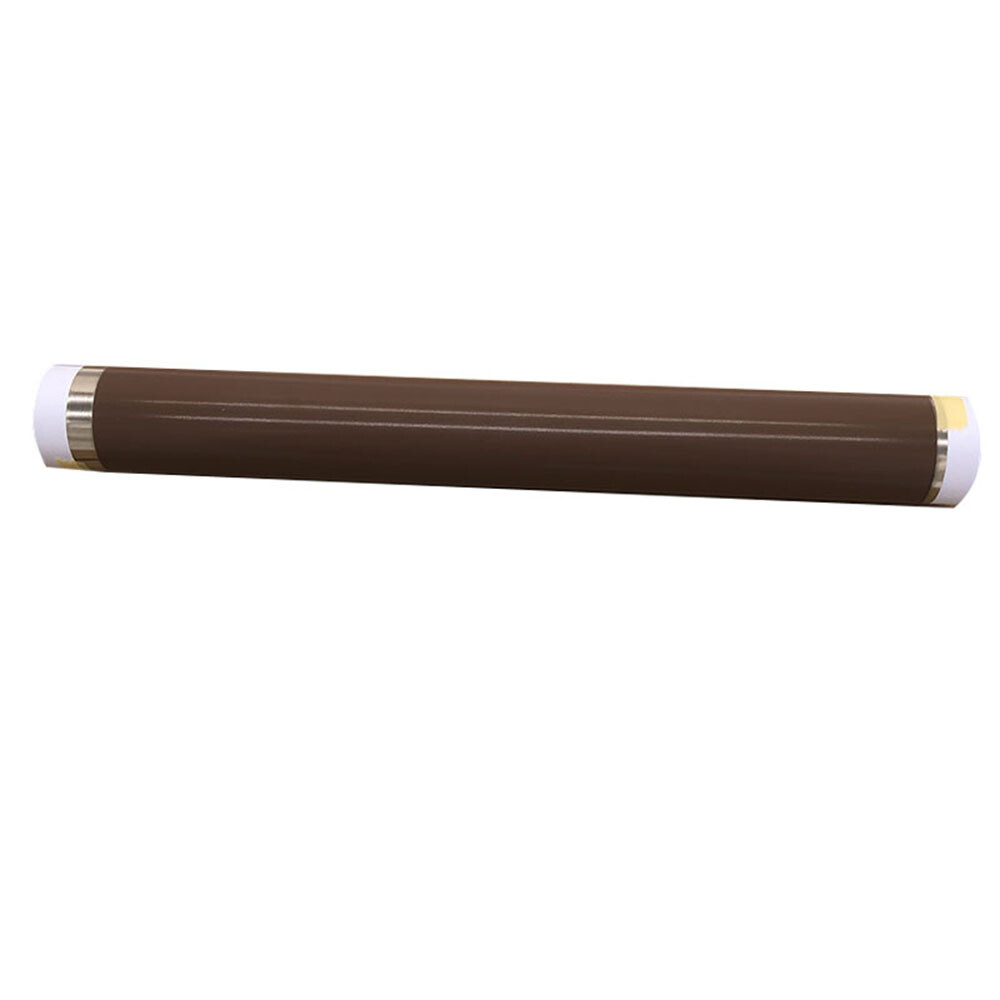
FM4-6495-FILM Metal Fuser Fixing Film Fits For Canon 1750 1740 1730IF 500IF
Check the listing for details.


| Location | shenzhen CN |
| Shipping | USD 0 · Flat |
| Seller |
accessories_on_line
100% positive · 217 feedback
|
| Listing | FixedPriceItem · Active |
| Start time | 2023-12-13T10:13:26.000Z |
| End time | 2024-08-13T11:13:26.000Z |
| Time left | PT9H33M11S |
| Restocking fee | No |
| Return shipping will be paid by | Buyer |
| Returns Accepted | Returns Accepted |
| Item must be returned within | 30 Days |
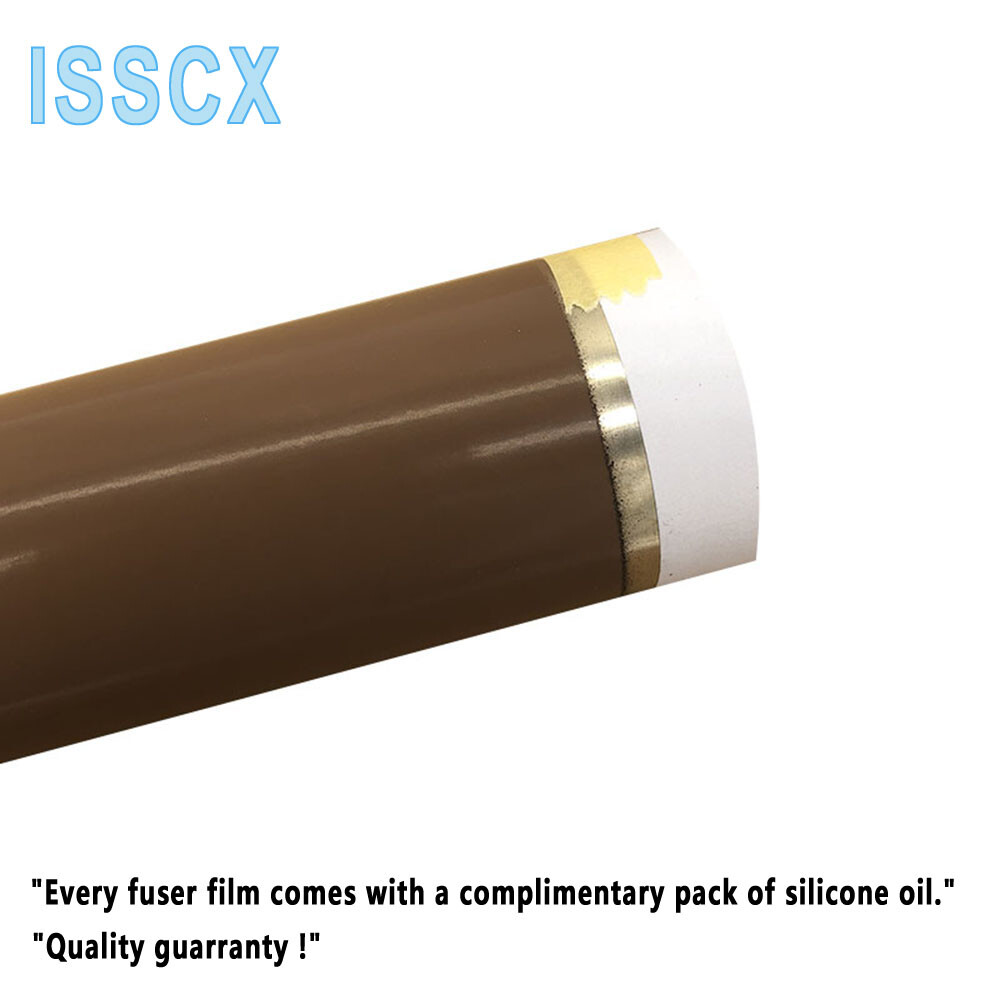
| Brand | ISSCX |
| Compatible Brand | fits for Canon |
| Compatible Model | fits for Canon 1730iF,1740,1740iF,1750,1750iF,400iF,500iF |
| compatible serial | fits for Canon imageRUNNER |
| MPN | fits for Canon 1730iF,1740,1740iF,1750,1750iF,400iF,500iF |
| OEM code | RL1-0024 RL1-0024-Film |
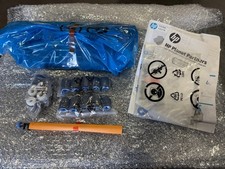
| package include | 1 Film + 1 bag of grease |
| Type | Assembly Parts |
FM4-6495-FILM Metal Fuser Fixing Film Fits For Canon 1750 1740 1730IF 500IF
Brand New The need to replace Fuser Film sarises primarily due to the following reasons: Aging: Fuser Film snaturally undergo aging over time. Aging can lead to changes in the material properties of the film, such as increased hardness or brittleness, thereby affecting the quality of images. Additionally, aging may result indiscoloration or
color changes, subsequently impacting image contrast and clarity. Physical Damage: Fuser Film sare susceptible to physical damage, including bending, scratching, tearing, and other forms of physical trauma. These damages directly influence the readability of images and may cause artifacts or other anomalies in the process. Expiration: Fuser Film stypically have a specified lifespan. Once this designated period expires, the films performance may decline. Expired Fuser Film smay fail to produce clear and accurate images, necessitating regular replacements to ensure the quality of medical imaging.Replacing the fuser film is typically a relatively complex task that requires careful handling to avoid damaging other components and ensure optimal performance after replacement. Here are the general steps commonly followed in the process:1.Preparation: Turn off the printer or copier and wait for the fuser to cool down. Ensure you have the correct replacement fuser film.2.Open the Printer or Copier: Open the corresponding door or cover to access the fuser unit.3.Remove the Old Fuser Film: It may be necessary to remove or reposition certain components, such as the protective cover or housing for the fuser film.Unscrew or unclasp to release the old fuser film.Carefully remove the old fuser film, ensuring not to damage surrounding components.4.Clean: Before installing the new fuser film, ensure the fuser unit is clean. Use a lint-free cloth or compressed air to remove dust and impurities.5.Install the New Fuser Film: Carefully place the new fuser film in the correct position.Ensure one end of the film aligns with the fixing mechanism, and any guiding elements are correctly inserted.6.Re-Fasten: Reinstall the screws or fasteners to secure the new fuser film. Ensure the film is securely fixed to the fuser unit.7.Replace Components: If any components were moved or removed in the first step, place them back in their correct positions.8.Close the Cover: Close all doors and covers on the printer or copier.9.Power On Test: Turn on the printer or copier and perform a test print to ensure the new fuser film is operating correctly, without any unusual noise or issues.Please note that these are general steps, and actual procedures may vary based on the device model and manufacturer. Before replacing the fuser film, it is recommended to consult the devices user manual or refer to detailed replacement guidelines provided by the manufacturer to ensure accurate and safe execution. ISSCX